Embroidery digitizing is the backbone of modern embroidery, transforming designs into stitch-perfect masterpieces. Whether you’re a hobbyist creating custom gifts or a professional working on corporate apparel, mastering professional digitizing is essential for achieving high-quality results. But let’s be honest—digitizing can feel overwhelming at first. With so many factors to consider, from stitch types to fabric choices, it’s easy to get lost in the details.
Don’t worry, though! In this article, we’ll break down the art of professional digitizing for embroidery into manageable steps, sharing practical tips and techniques to help you master the craft. By the end, you’ll have the knowledge and confidence to create stunning, professional-quality embroidery designs.
What is Embroidery Digitizing?
Embroidery digitizing is the process of converting a design or logo into a digital file that an embroidery machine can read. This file contains instructions for the machine, such as stitch types, directions, densities, and sequences. The goal is to recreate the design in a way that looks crisp, clean, and professional when stitched onto fabric.
While the concept sounds simple, digitizing is both an art and a science. It requires technical expertise, creativity, and an understanding of how stitches interact with different fabrics and threads.
Why Professional Digitizing Matters
Professional digitizing is crucial for several reasons:
- Professional Results: A well-digitized design ensures clean lines, balanced spacing, and precise details.
- Durability: Proper digitizing ensures the design stays intact after repeated washing and wearing.
- Efficiency: Optimized designs reduce thread breaks, machine jams, and production time.
- Versatility: Advanced digitizing techniques allow you to work with a wide range of fabrics and designs.
Now, let’s dive into the tips and techniques that will help you master professional embroidery digitizing.
Essential Tips for Professional Digitizing
1. Start with the Right Design
Not all designs are created equal when it comes to embroidery. The best designs for digitizing have clear lines, distinct shapes, and minimal fine details. Complex designs with gradients or intricate patterns can be challenging to translate into stitches.
Tips for Choosing a Design:
- Opt for high-contrast designs with bold outlines.
- Simplify the design if necessary to make it more embroidery-friendly.
- Avoid designs with too much fine detail or shading.
2. Understand Your Fabric
Different fabrics behave differently during embroidery. For example, stretchy fabrics require more stabilization, while thick fabrics may need higher stitch densities. Understanding your fabric is key to achieving the best results.
Tips for Working with Different Fabrics:
- Use stabilizers to prevent distortion on stretchy or delicate fabrics.
- Adjust stitch density based on the fabric’s thickness and texture.
- Test the design on a scrap piece of fabric before stitching the final product.
3. Choose the Right Stitch Types
Different parts of the design may require different stitch types. Choosing the right stitch type is crucial for achieving the desired look and durability.
Common Stitch Types and Their Uses:
- Satin Stitches: Smooth and shiny, perfect for borders and text.
- Fill Stitches: Dense and solid, ideal for large areas.
- Running Stitches: Thin and precise, great for fine details.
4. Master Underlay Stitches
Underlay stitches provide a foundation for the top stitches, stabilizing the fabric and preventing distortion. They’re especially important for dense designs or stretchy fabrics.
Types of Underlay Stitches:
- Edge Run: Creates a clean outline for the design.
- Zigzag: Adds stability for stretchy fabrics.
- Center Run: Provides a base for fill stitches.
5. Control Stitch Density
Stitch density refers to the number of stitches per square inch. Too much density can cause the fabric to pucker, while too little can make the design look sparse.
Tips for Controlling Stitch Density:
- Reduce density for lightweight or delicate fabrics.
- Increase density for thicker fabrics or designs that need more coverage.
- Use variable density to create shading and dimension.
6. Use Pull Compensation
Pull compensation is a technique used to counteract the natural pull of the fabric during embroidery. Without proper pull compensation, designs can appear distorted or misaligned.
How to Use Pull Compensation:
- Add extra stitches to areas that are prone to pulling, like curves and corners.
- Test the design on a scrap piece of fabric to check for distortion.
- Adjust the compensation settings in your digitizing software as needed.
7. Experiment with Stitch Directions
Stitch direction plays a crucial role in the final appearance of the design. Experimenting with different stitch directions can add texture and visual interest.
Tips for Setting Stitch Directions:
- Follow the natural flow of the design for a cohesive look.
- Use contrasting stitch directions to create texture and dimension.
- Avoid stitching in the same direction as the fabric’s grain to prevent distortion.
8. Test and Refine Your Designs
Testing is a crucial step in the digitizing process. Always stitch the design on a scrap piece of fabric to check for any issues like puckering, gaps, or misaligned stitches.
Tips for Testing and Refining:
- Use the same fabric and thread you plan to use for the final product.
- Make adjustments to stitch density, underlay, or pull compensation as needed.
- Save multiple versions of the design to compare and refine.
Advanced Techniques for Professional Digitizing
Once you’ve mastered the basics, you can explore advanced techniques to take your digitizing skills to the next level. Here are a few to try:
1. 3D Effects
Add depth and dimension to your designs by layering stitches or using foam padding.
2. Color Blending
Create gradient effects by blending two or more thread colors in a single area.
3. Texture and Patterns
Experiment with different stitch types and directions to add texture and visual interest.
4. Complex Fabrics
Learn how to adapt your designs for challenging fabrics like knits, leather, or sheer materials.
Tools and Resources for Professional Digitizing
To master professional embroidery digitizing, you’ll need the right tools. Here are some essentials:
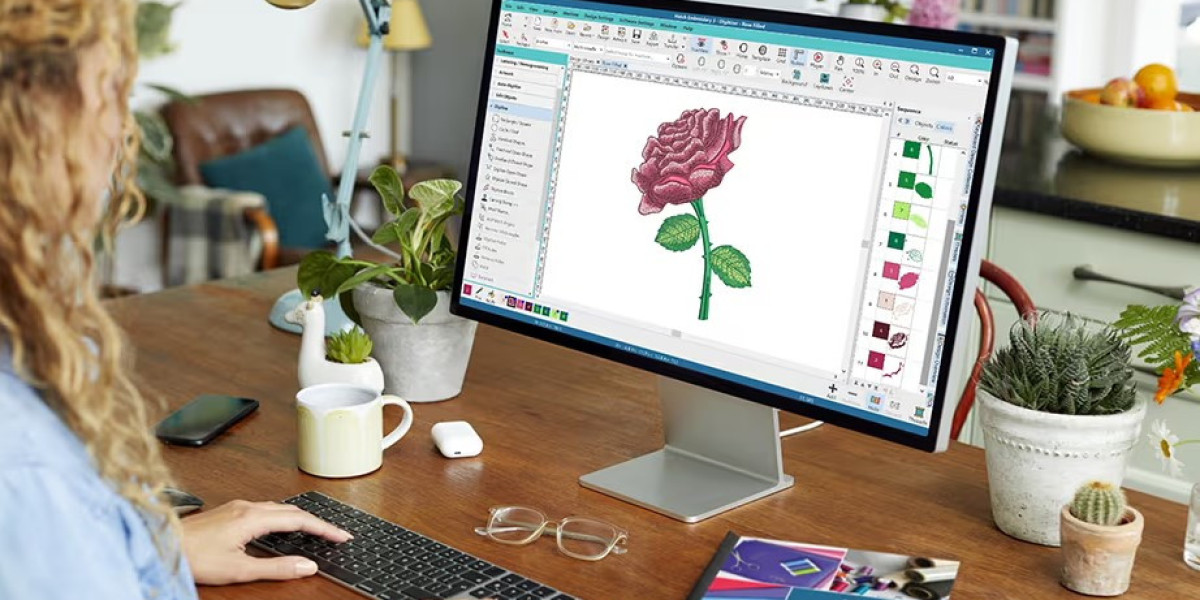
- Digitizing Software: Wilcom Embroidery Studio, Hatch Embroidery, or SewArt.
- Embroidery Machine: A reliable machine that supports the PES file format.
- Stabilizers and Hoops: To keep the fabric taut and prevent distortion.
- High-Quality Thread and Needles: For durable, professional-quality results.
Conclusion
Mastering professional embroidery digitizing is a journey that combines creativity, technical skill, and attention to detail. By following the tips and techniques outlined in this guide, you can transform your designs into stunning, professional-quality embroidery pieces.
Whether you’re a beginner or an experienced digitizer, the key to success is practice and experimentation. So, grab your software, test out new techniques, and watch your embroidery skills soar.
By mastering professional embroidery digitizing, you’re not just creating designs—you’re crafting a masterpiece. And in a world where creativity and precision matter, that’s a stitch worth celebrating.